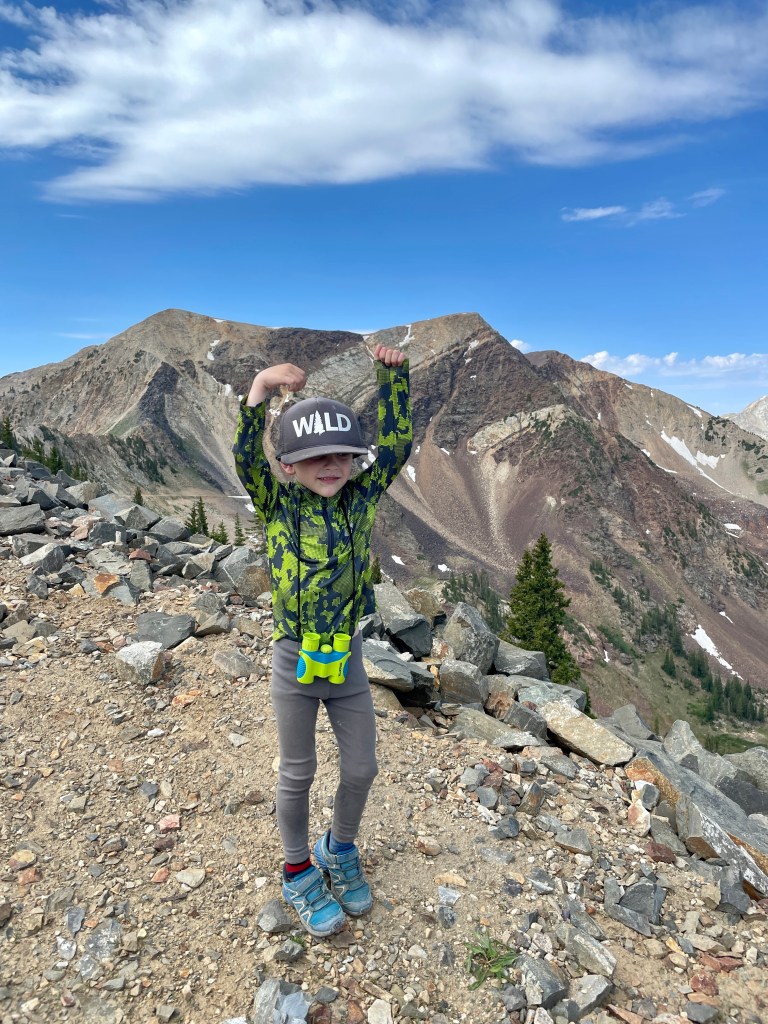
It’s become a yearly tradition to take my child to the timpy top of the summit of Mount Timpanogos. But what better way to build upon the tradition than to turn it into a backpacking trip? I will admit that the first time I day hiked Aspen Grove I had seen a group of backpackers coming down and had the thought that there was no way I’d ever carry a heavy bag up this trail. I’ve now done it twice. With child in tow. I wouldn’t consider this child friendly unless your child is used to hiking high mileage. At the end of the post I’ll talk about what route local to the Wasatch is the perfect route to train up your kidlet for the climb to Emerald lake.
Timpanogos is the second highest peak in the Wasatch Range and is a rite of passage for local peak baggers. She rises 11,752 feet above sea level and commands your attention with her show stopping beauty. She is one of the most recognizable mountains of the Wasatch and is a heavily trafficked trail. I currently am employed as a SAHM which means I can go during the week when the crowds are more manageable. I never go on a weekend. Weekend traffic has become such a problem up the AF canyon side that they are now implementing permits. Aspen Grove side is located just after Sundance in Provo Canyon. While it doesn’t require permits there is a fee. Last year it was $6 or free if you have a National Park Pass. AF Canyon has the same fee requirement in addition to a permit. Rangers check both these lots multiple times a day. You will get ticketed if you don’t pay the fee.
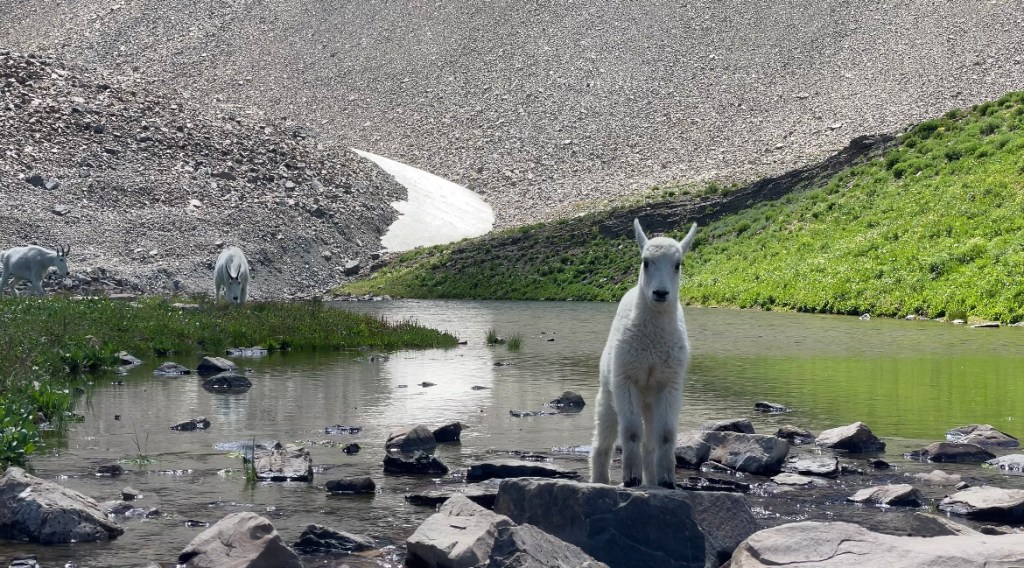
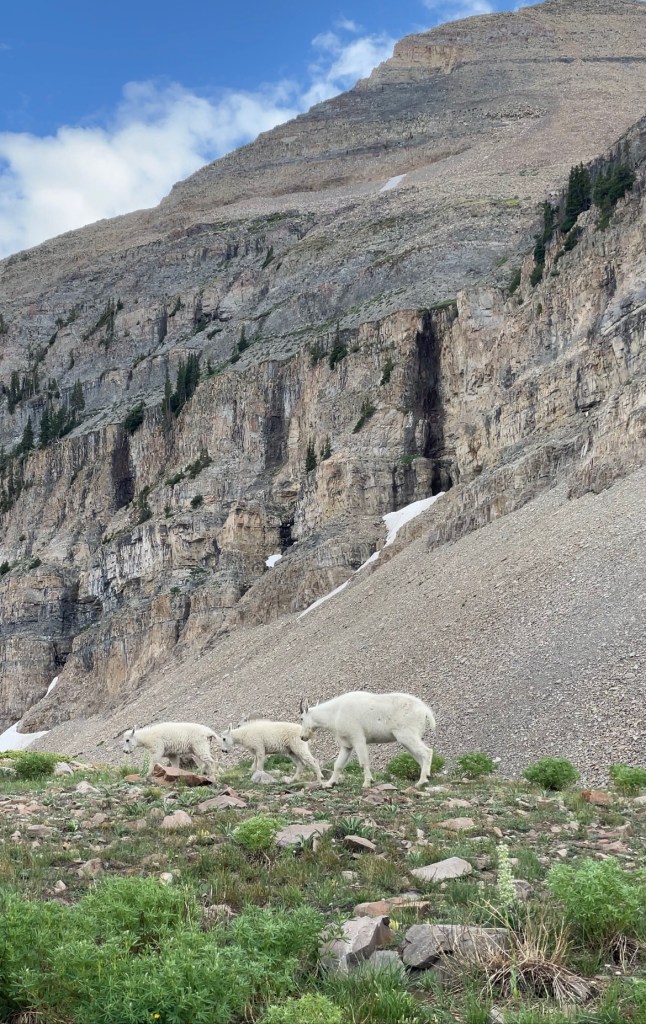
Let’s talk about Emerald Lake real quick. Emerald lake isn’t so Emerald. The name really hypes it up. Don’t get me wrong, this is a beautiful lake, but compared to others in the Wasatch I’m just going to be a spoiled brat and say meh. Now it’s the views you get from the scenery around Emerald Lake that make this trip worth going. Emerald Lake is just the water source. It also attracts the local herds of mountain goats. The goats tend to gravitate to this area. The lake isn’t watershed like a lot of high alpine lakes in the Wasatch Range. You can’t swim in watershed. It comes with a huge fine. But, since it’s not watershed you’re welcome to take a dip. Dogs are also allowed on this trail since it’s not in a watershed area. Just make sure your dog doesn’t like to chase animals. Dogs have been gored by approaching the goats too closely.
There are two trails you can take to Timpanogos. Well, two that don’t require off route navigation , scrambling and danger. Which can be a lot of fun for the experienced wrangler, but not for kids or backpacking. You could take either the Timpooneke trail or Aspen Grove to Emerald Lake. Timpooneke is going to be a much longer haul and it doesn’t have any water sources after mile 1.5. I like backpacking on trails that have abundant water sources. It allows me to cut a massive amount of weight from my pack. I usually leave my bladder at home and carry a Katadyn Be Free 1L soft flask filter or the thru hikers classic the Sawyer squeeze paired w a smartwater bottle. Since there are multiple water sources along Aspen Grove I highly recommend this be the route to Emerald Lake. The trail from Aspen climbs over five miles to the lake. Sounds easy right? Add in a whopping 3,300 feet of climbing with little to no shade and those six miles hit a little different. Last time my watch tracked 5.78 miles with 3,313 vertical gain. It took myself and my 4 year old 6 hours and 46 minutes to complete. There were two 30 minute breaks in there as well. Now let’s talk about the trail.
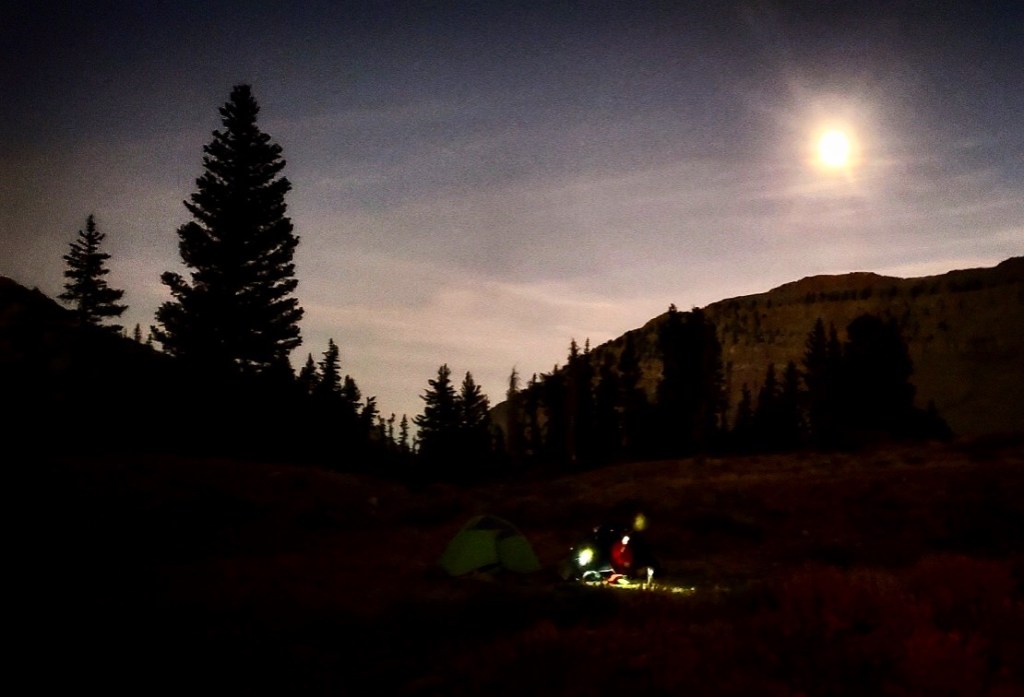
The trail starts off from the same parking lot as Stewart Falls. Make sure you’re paying attention to signage. Better yet if you’re not familiar w the area download the gpx file to Gaia to help keep you on the right trail. The lame horse trail split also has confused people. Lame Horse is located before the first waterfall. The path to the first falls is just over a mile. You’ll find yourself occasionally walking on a dilapidated paved path. Moose can be spotted regularly along this section of trail. Keep your eyes peeled for them. I usually start this section in the dark. It becomes scorching hot during the day and so I prefer to cover this section in the cool morning air. My kidlet LOVES hiking with his headlamp so it’s a treat for him which helps tremendously with motivation and attitude.
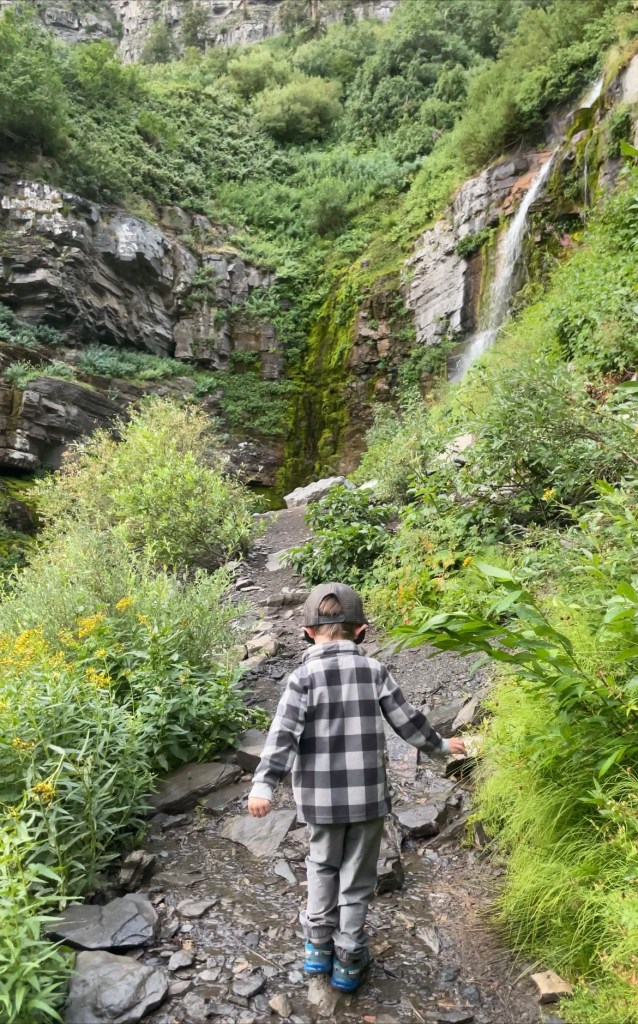
The first two falls are beautiful. The second one especially. I love cooling off here when coming back down the mountain. The water always feels subterranean even in the heat of a summers day. After these falls it gets steep for a minute before doing some long exaggerated switchbacks. The switchbacks are gentle as they lead you to the mid portion of Primrose Cirque. The views are incredible. The path is decently wide, but there will be large drop offs to one side most of the way to the lower basin from here. I usually hike side by side w my child and keep him on the inside away from the drop. On steep parts we usually hold hands. This helps give them a little extra boost when climbing. I only hike with one pole while backpacking with my child. I used to laugh at people who used poles, but they are great when climbing and it acts as my staff of stability when descending. Especially when holding a hand that’s connected to someone who can’t quite grasp a steady, calculated descent. The pole also helps keep me upright so my body can continue to get the most oxygen possible.
After the long switchbacks you’ll encounter the talus crossing. I’d say this is a little over halfway with the hardest part to come. The talus field crosses under cliff bands that tend to break off on the regular. You can usually hear small pieces here and there. While it’s not steep on this short section, the trail is a little more narrow. I make haste through this area. I have PTSD from a cliff band releasing and showering down baseball sized rocks. So, I am extra sketched out here. If rocks were to break (you can hear the cracking before the release) the best thing to do depending on the size of the release is to duck and cover your head. I would duck and cover over my child. My backpack would help deflect smaller debris. Sorry, not to make you paranoid. Just wanting to give a heads up.
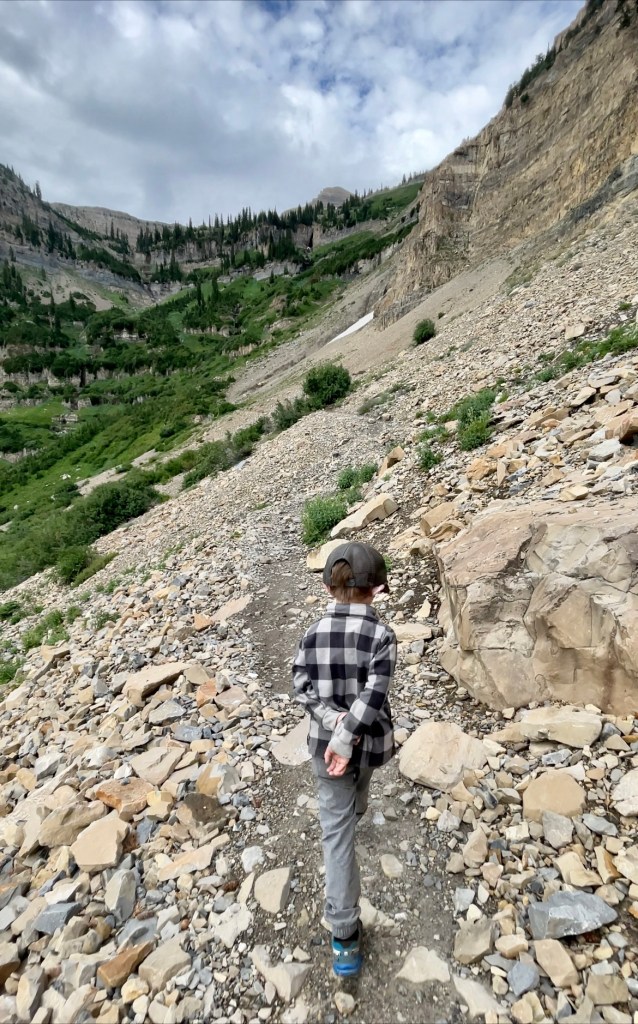
It took about 3 hours to reach the end of the talus crossing. This is where we took our first break. Which the kidlet shamed me for. They say if carrying a lot of weight you should take a ten minute pack break for every 50 minutes hiked. Even though my pack was around 40 pounds I could definitely feel it on my back. So, we refueled with some actual food. I don’t let my kid have candy at home, but hiking I give him a sandwich bag of candy that he rations out. When backpacking sugar can come in clutch. It’s excellent fuel. That’s why it lines the aid stations at ultra marathons. It also helps you come out of a bonk fairly quickly. My child is constantly popping a piece of candy in his mouth as we climb. This helps prevent against bonking. When hiking with young kids on hard tracks you’re basically their pacer. You make sure they’re fueling and hydrated and you mental ninja them by talking about bugs and dinosaurs. I’ve had more conversations about TRex than I’ve cared to.
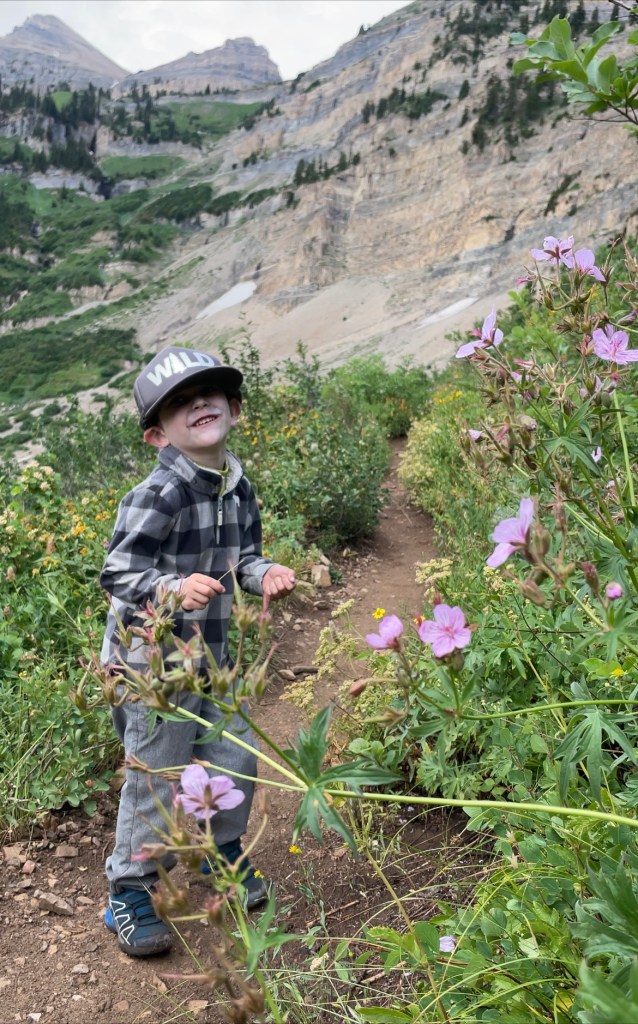
From here you’re going to switchback to the lower basin. It looks really close. It’s not. It’s deceiving. If you don’t beat the heat you can always stop at a water source, remove your hat and shirt, dip them in the water, wring them out and put them back on. Instant relief. There isn’t shade on Primose once the sun hits this area around the 10 am hour in the summer months. It’s also steeper. It helps that when this area is in bloom there are plenty of vibrant flowers to take your mind off the climb.
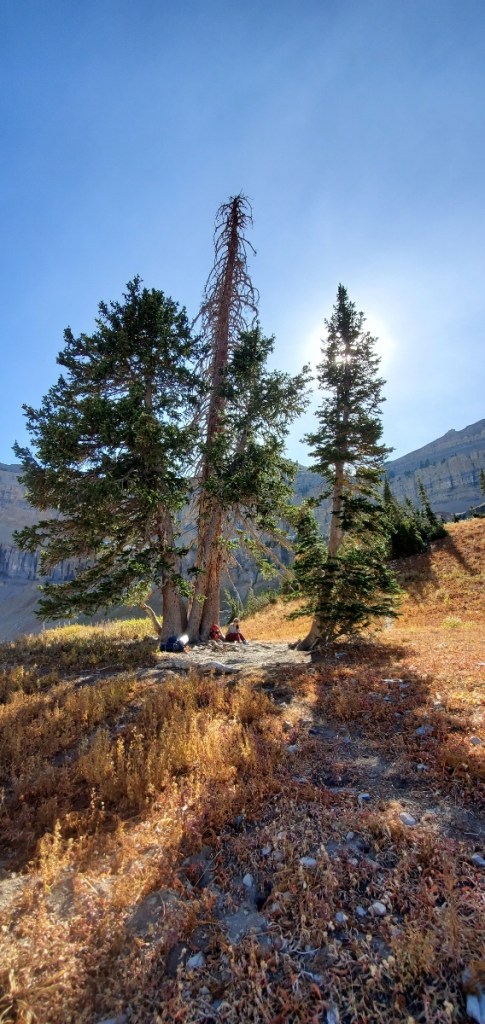
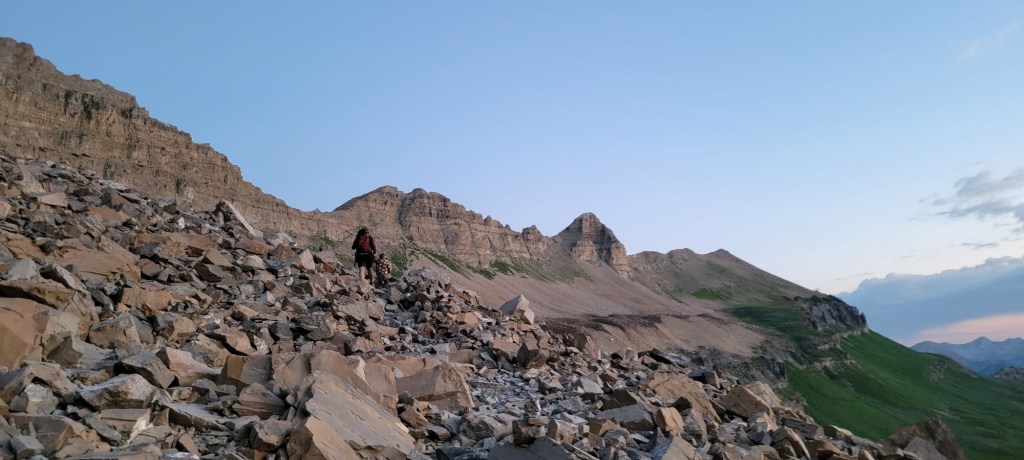
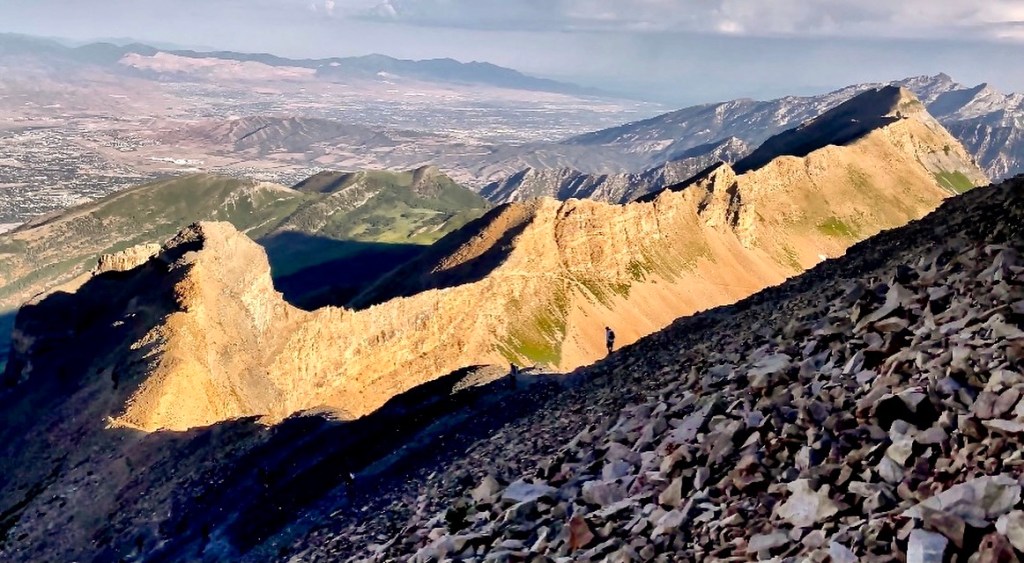
Once you hit the lower basin it starts getting easier and the views are captivating. It has a Glacier National Park feel to it. I like to take our second break at the grove of dead trees that is found parallel to the trail. The kidlet usually needs a mental break at this point. If you notice your child tripping up a lot it’s usually time for a break. The upper basin usually has milder temps and a breeze going through it. Congratulations, the hardest part is behind you.

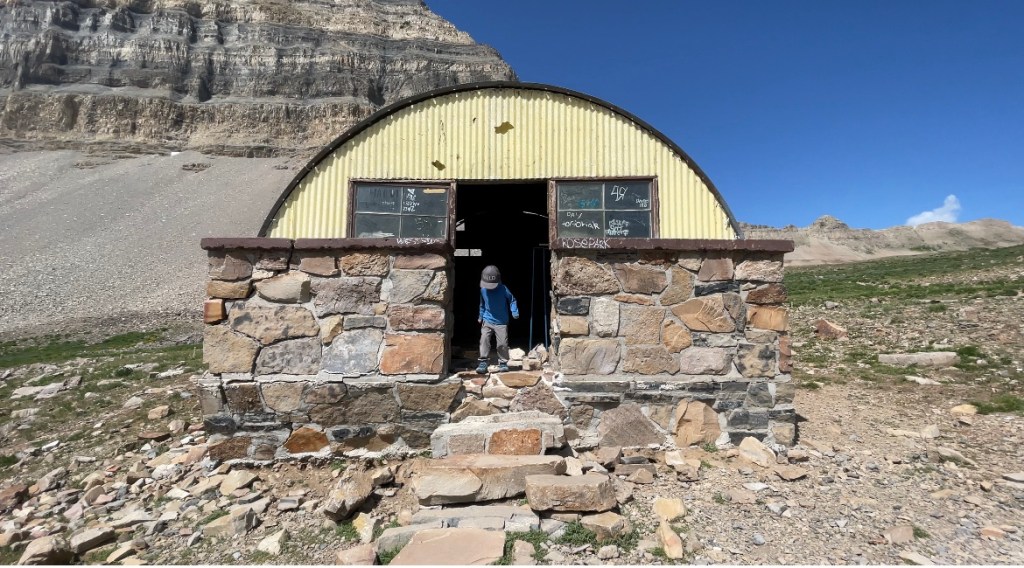
You will gently ascend to the upper basin. You’ll see a large yellow shack in the distance and if you look up at the towering stone walls you might be able to make out the summit shack. During peak wildflower flower season I used to see a dazzling array of colors, but recently I feel the flowers are slowly disappearing. This happens when people pick them or trample through them for pictures. I suspect the goats appetite has something to do with it too.
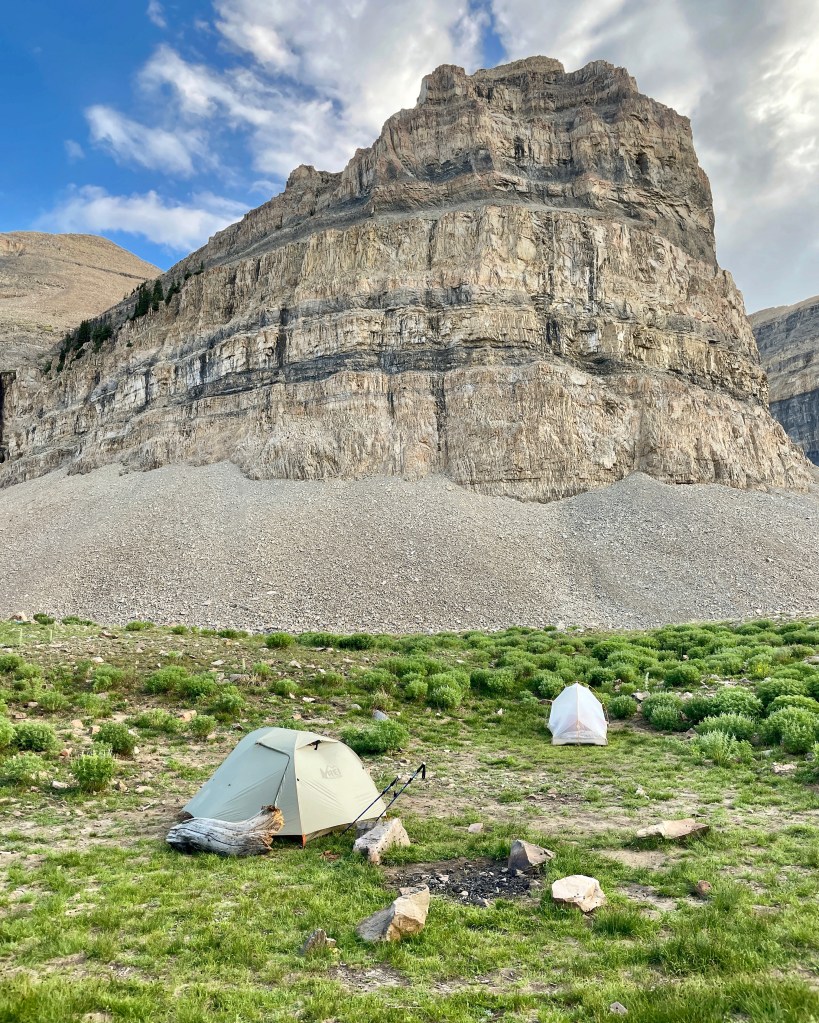
There is one last steep climb to the lake. It lasts all of two minutes. There are plenty of campsites to the East of the lake. Please follow LNT principles and camp at least 200 feet from a water source. I sometimes see people set up right by the lake. They don’t stay there very long. I imagine us locals have something to do with this. There are a few really great spots just past the lake that offer privacy from other hikers and can accommodate large groups. There are even spots in the tree line. Just be aware that the goats like to retire in the tree line in the evenings and they are not shy about crashing your party. They can be pretty forward. They will follow you around and they will lick your backpack any chance they get.
Usually the next morning we begin an early ascent of Timpanogos. The summit is just under two miles with a 1,500 vertical climb. It’s pretty gentle for the majority, but when it’s not it’s not. There are two spots where you’ll gain most the elevation quickly. The crowds usually arrive at the saddle by 9 am. I like to get to the saddle around 6 am and watch the sun rise as I enjoy breakfast. After that I head to the top and enjoy the summit without a large crowd. It does get pretty crowded at the summit. Especially on weekends. It’s common to have around or above 400 hikers summit in a day on the weekends.
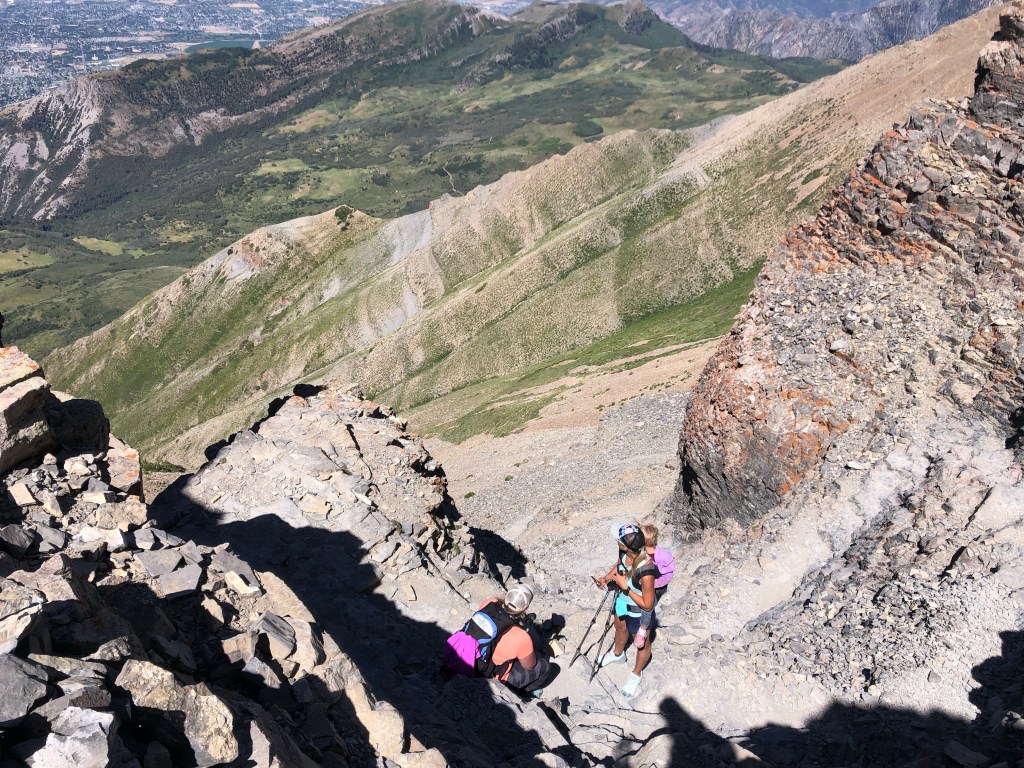
From Emerald Lake to the saddle you’re going to traverse a large talus field strewn w wobbly ankle breaking rocks. While it’s not steep it will slow you down. I managed to traverse it in the dark with my child just fine. The trail is pretty well defined and there are multiple cairn stones to look out for. It’s what comes immediately after the talus field that I loathe. You climb a short steep path that is loose dirt to connect with the Timpooneke trail right before the saddle. I highly recommend poles for the descent unless you want to butt scoot down. It’s that steep and chossy. This was the most challenging part of the trail w my child. On the way back we played a freeze game. We held hands and I would have him stand as still as possible until I got my next foot hold and then he would unfreeze. You’re not going to die if you fall down this, but it would make for a pretty garbage fire day.
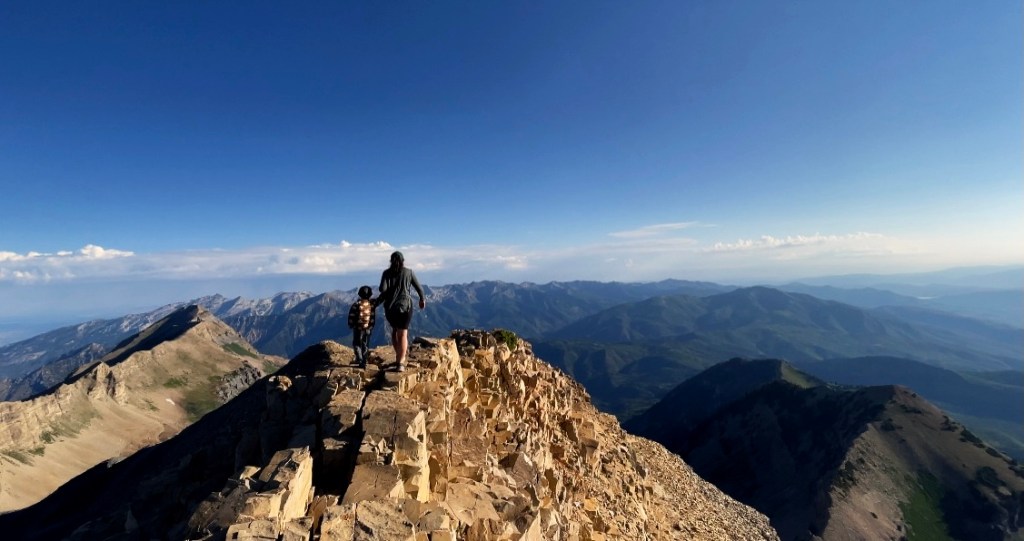
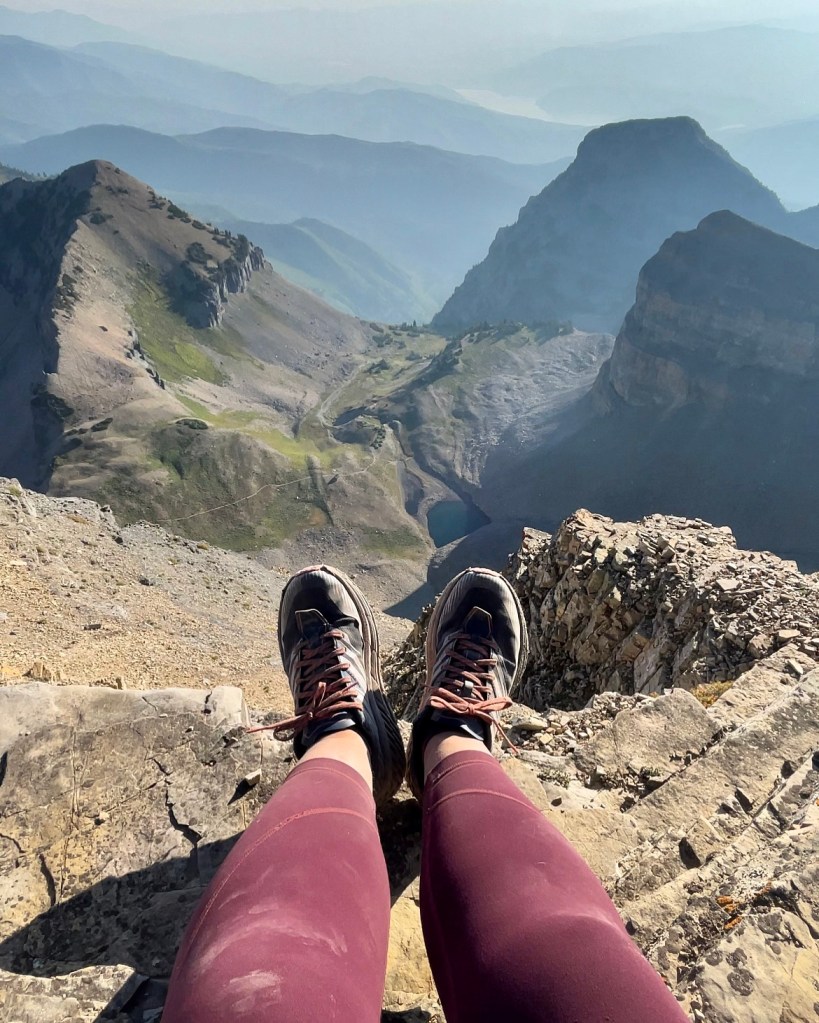
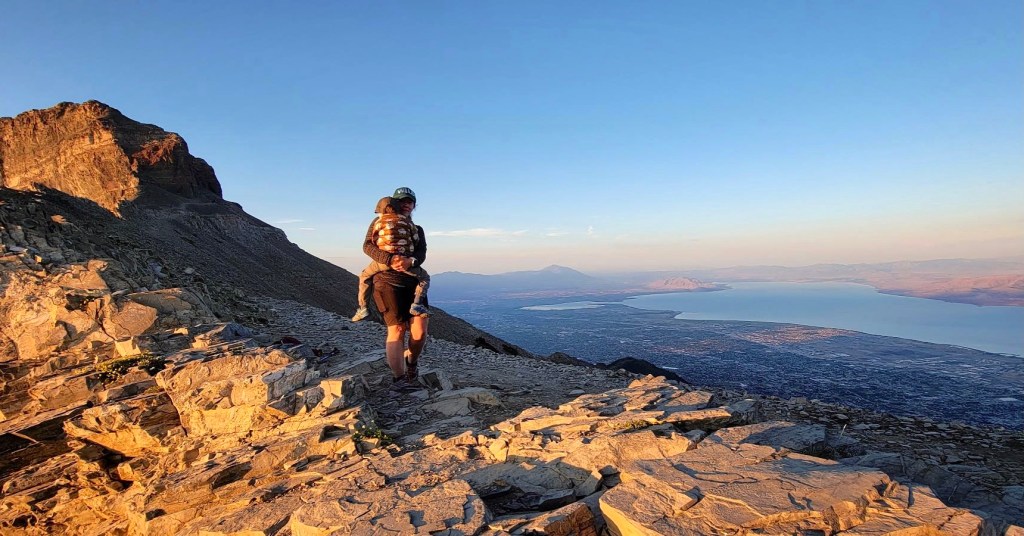
The saddle is a large area. Plenty of room for big crowds. You can see the trail from saddle to summit. It looks really narrow, but it’s not. When going with kids I suggest waiting for any large groups to pass. If any hiker needs to pass us we just both lean up against the side. The trail from saddle to summit has some jaw dropping drop offs. It’s dizzying to look down. If you’re afraid of heights I’d turn around at the Saddle. From the saddle you can see into the basin on the Timpooneke side and you’ll have an amazing cityscape of Utah County and Utah Lake.
Once you leave the saddle you’ll be hiking on the opposite side of the mountain. The chimney is the spot that usually throws most people off when traversing saddle to summit. For those of us who have summited many times it’s easy for us to spot the switchbacks, but first timers can get off track. If you are scrambling you’re off course. I would probably link up behind a group and watch where they go. This portion is easy to miss.
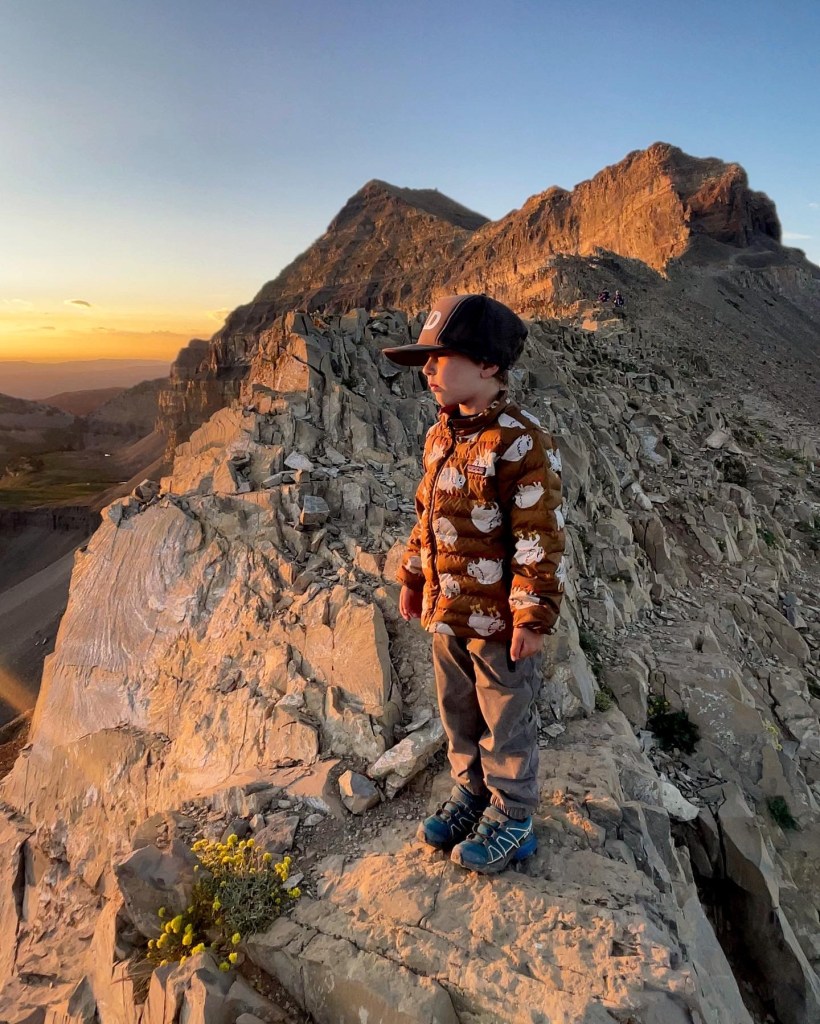
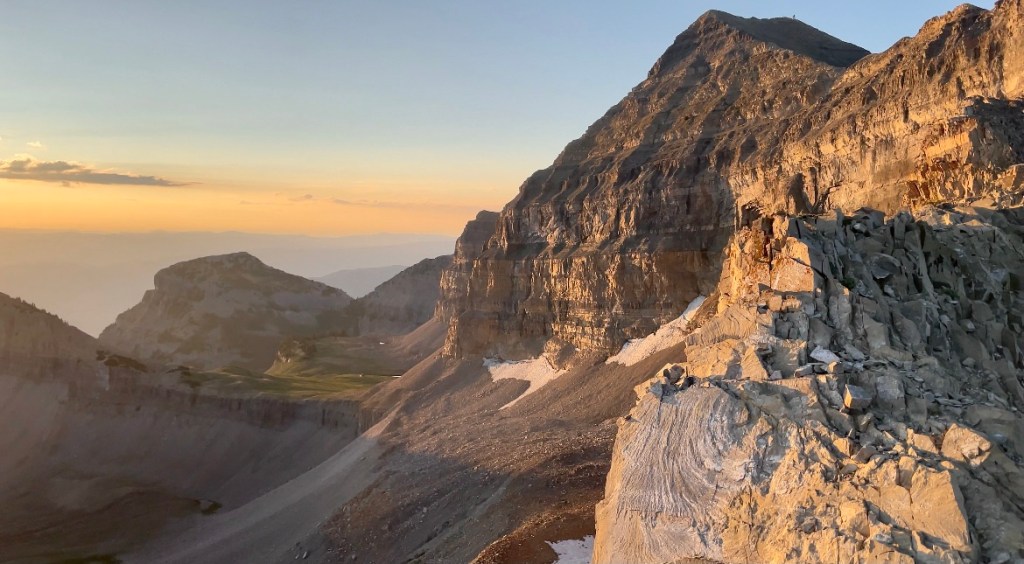
After the Chimney you’ll hit Deception Pass. I don’t know if this is a real name for it, but it fits. You’ll see the summit in the distance and it looks a lot further than it is. It’s also coupled w a steep climb. There are multiple trails to the summit. You can go straight up a ridge or switchback. Either way is manageable unless you’re afraid of heights. Don’t ever push yourself beyond your abilities. The mountain will always be there. If you continue just take your time. Stop. Get your camera out and take some pictures. Don’t take photos as you’re walking this section. This section however photographs spectacularly.
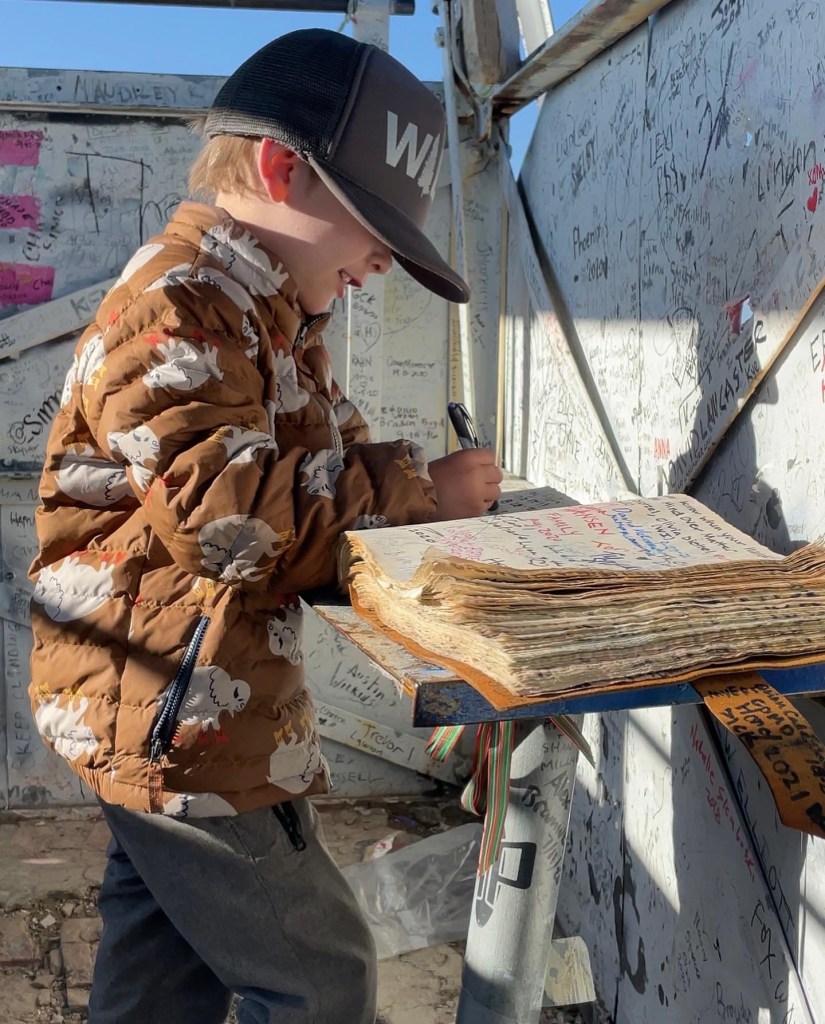
Once you reach the top you’ll be rewarded with 360 degree views. There is a huge shack that is as iconic as it is an eyesore. The summit register is in the shack. Prayer flags are hung from this structure and it can make an excellent wind break on a blustery day.

We reached camp around noon. We spent the rest of the day relaxing and exploring around the Emerald Lake area. You could also bag Roberts horn that is next to Emerald Lake (NOT kid friendly). We chose to stay a second night to break the trip up and make it more digestible for the kidlet. I do like to have time to relax and play when backpacking with my child. It is morale building for them to do so. I love having a picnic at Emerald Lake and watching the herds of goats.
I was asked several times where my carrier was for my child. They blinked in disbelief when I told them he did all the miles on his own two legs. While this is a manageable trip for a fit adult it’s not exactly child friendly. How did I feel confident enough to do this twice? I take my child to the mountains regularly. We also run, bike and do other endurance based activities. I built his mileage up little by little as not to overwhelm him. I always have a reward of some kind for a job well done. The best hike in the Wasatch to gauge their fitness to climb to Emerald Lake is Hidden Peak from the parking lot of the Snowbird Ski Resort. If you hike to the top you can ride the tram down for free. Kids love trams. This is his favorite hike. It’s around a 3,100 foot vertical climb in the space of 5 miles via Peruvian Gulch. My son can climb this in 2 hours and 46 minutes. Aspen Grove will take longer due to the trail. After we climb to Hidden Peak and ride the tram down we get an ice cream. We do this multiple times a summer. It helps keep him legged up and he’s always excited to hike to the tram. Another thing that helps with this trail is you reach around 11k feet. Great to test how altitude can make a difference or not when hiking. Happy Trails everyone. Timpanogos is a very sacred place to our local Wasatch community. Please leave it better than you found it. Hope you enjoy this trip as much as we do.